Dining Room Table
-
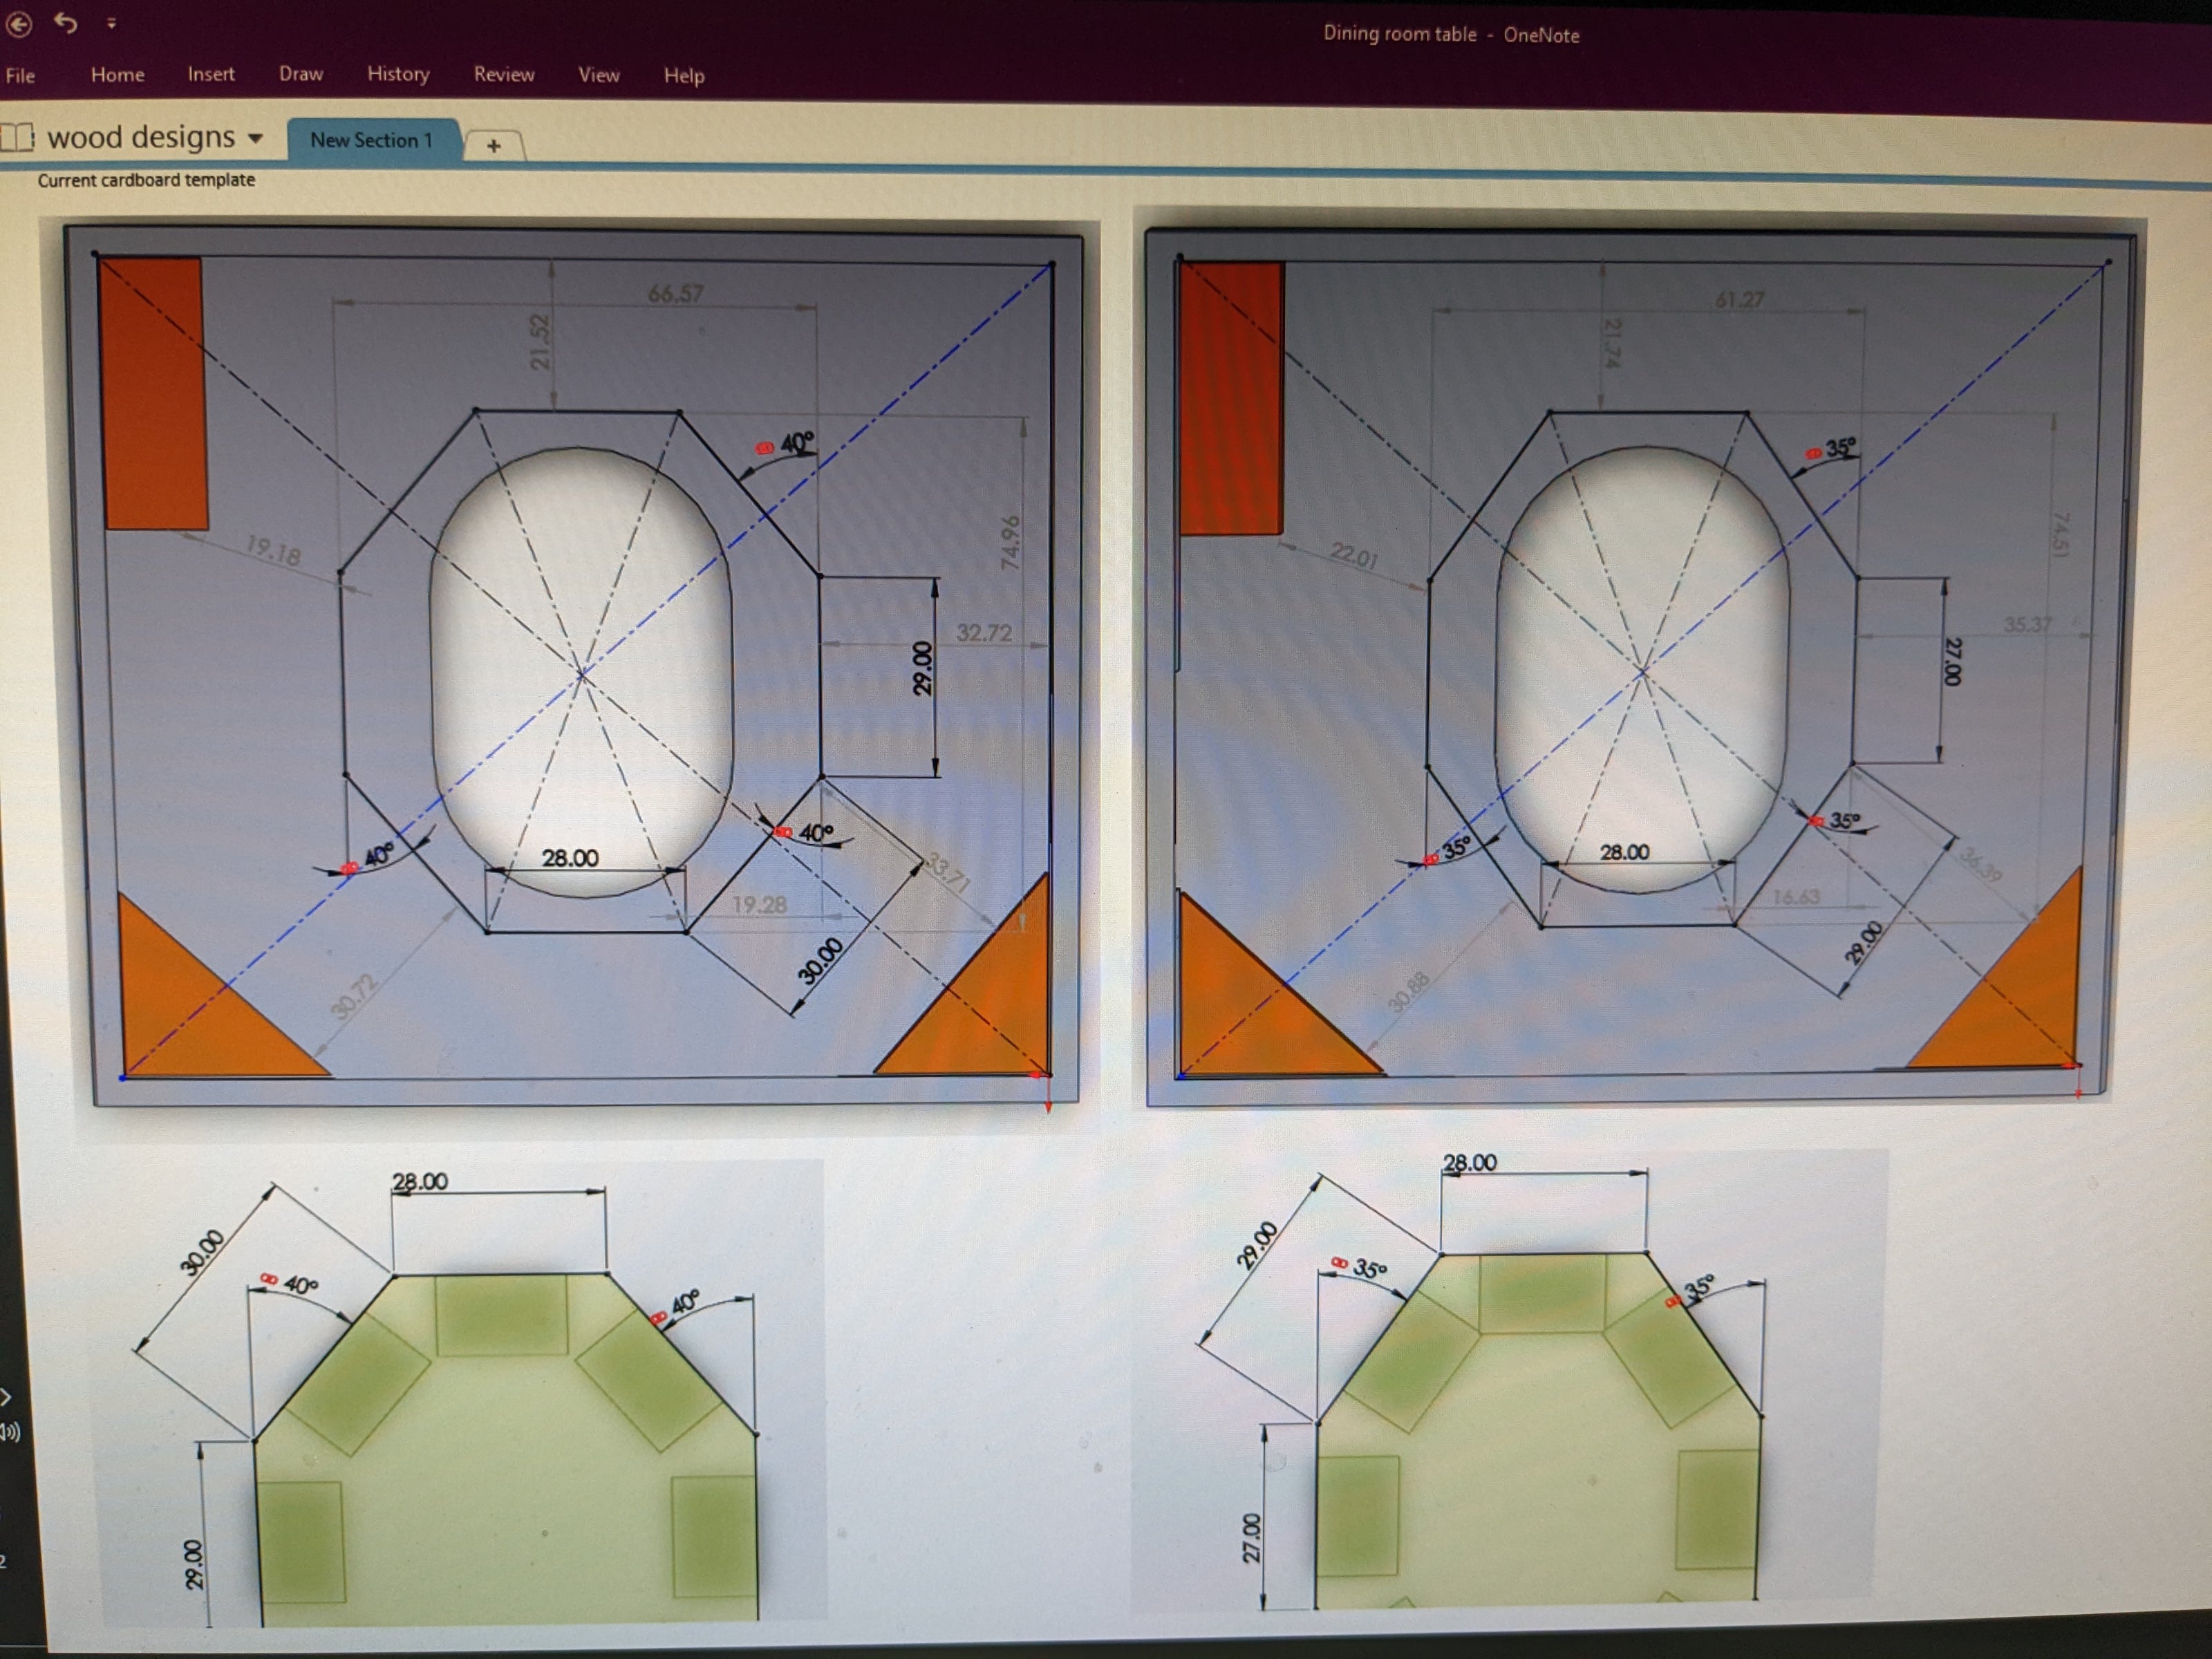
CAD design
I went thru a few iterations here. The orange things are furniture or shelves I had to work around in the room. The oval in the middle is the size of our old table. The dark green parts at the bottom are the size of a standard place setting. Lots of constraints on this design!
-
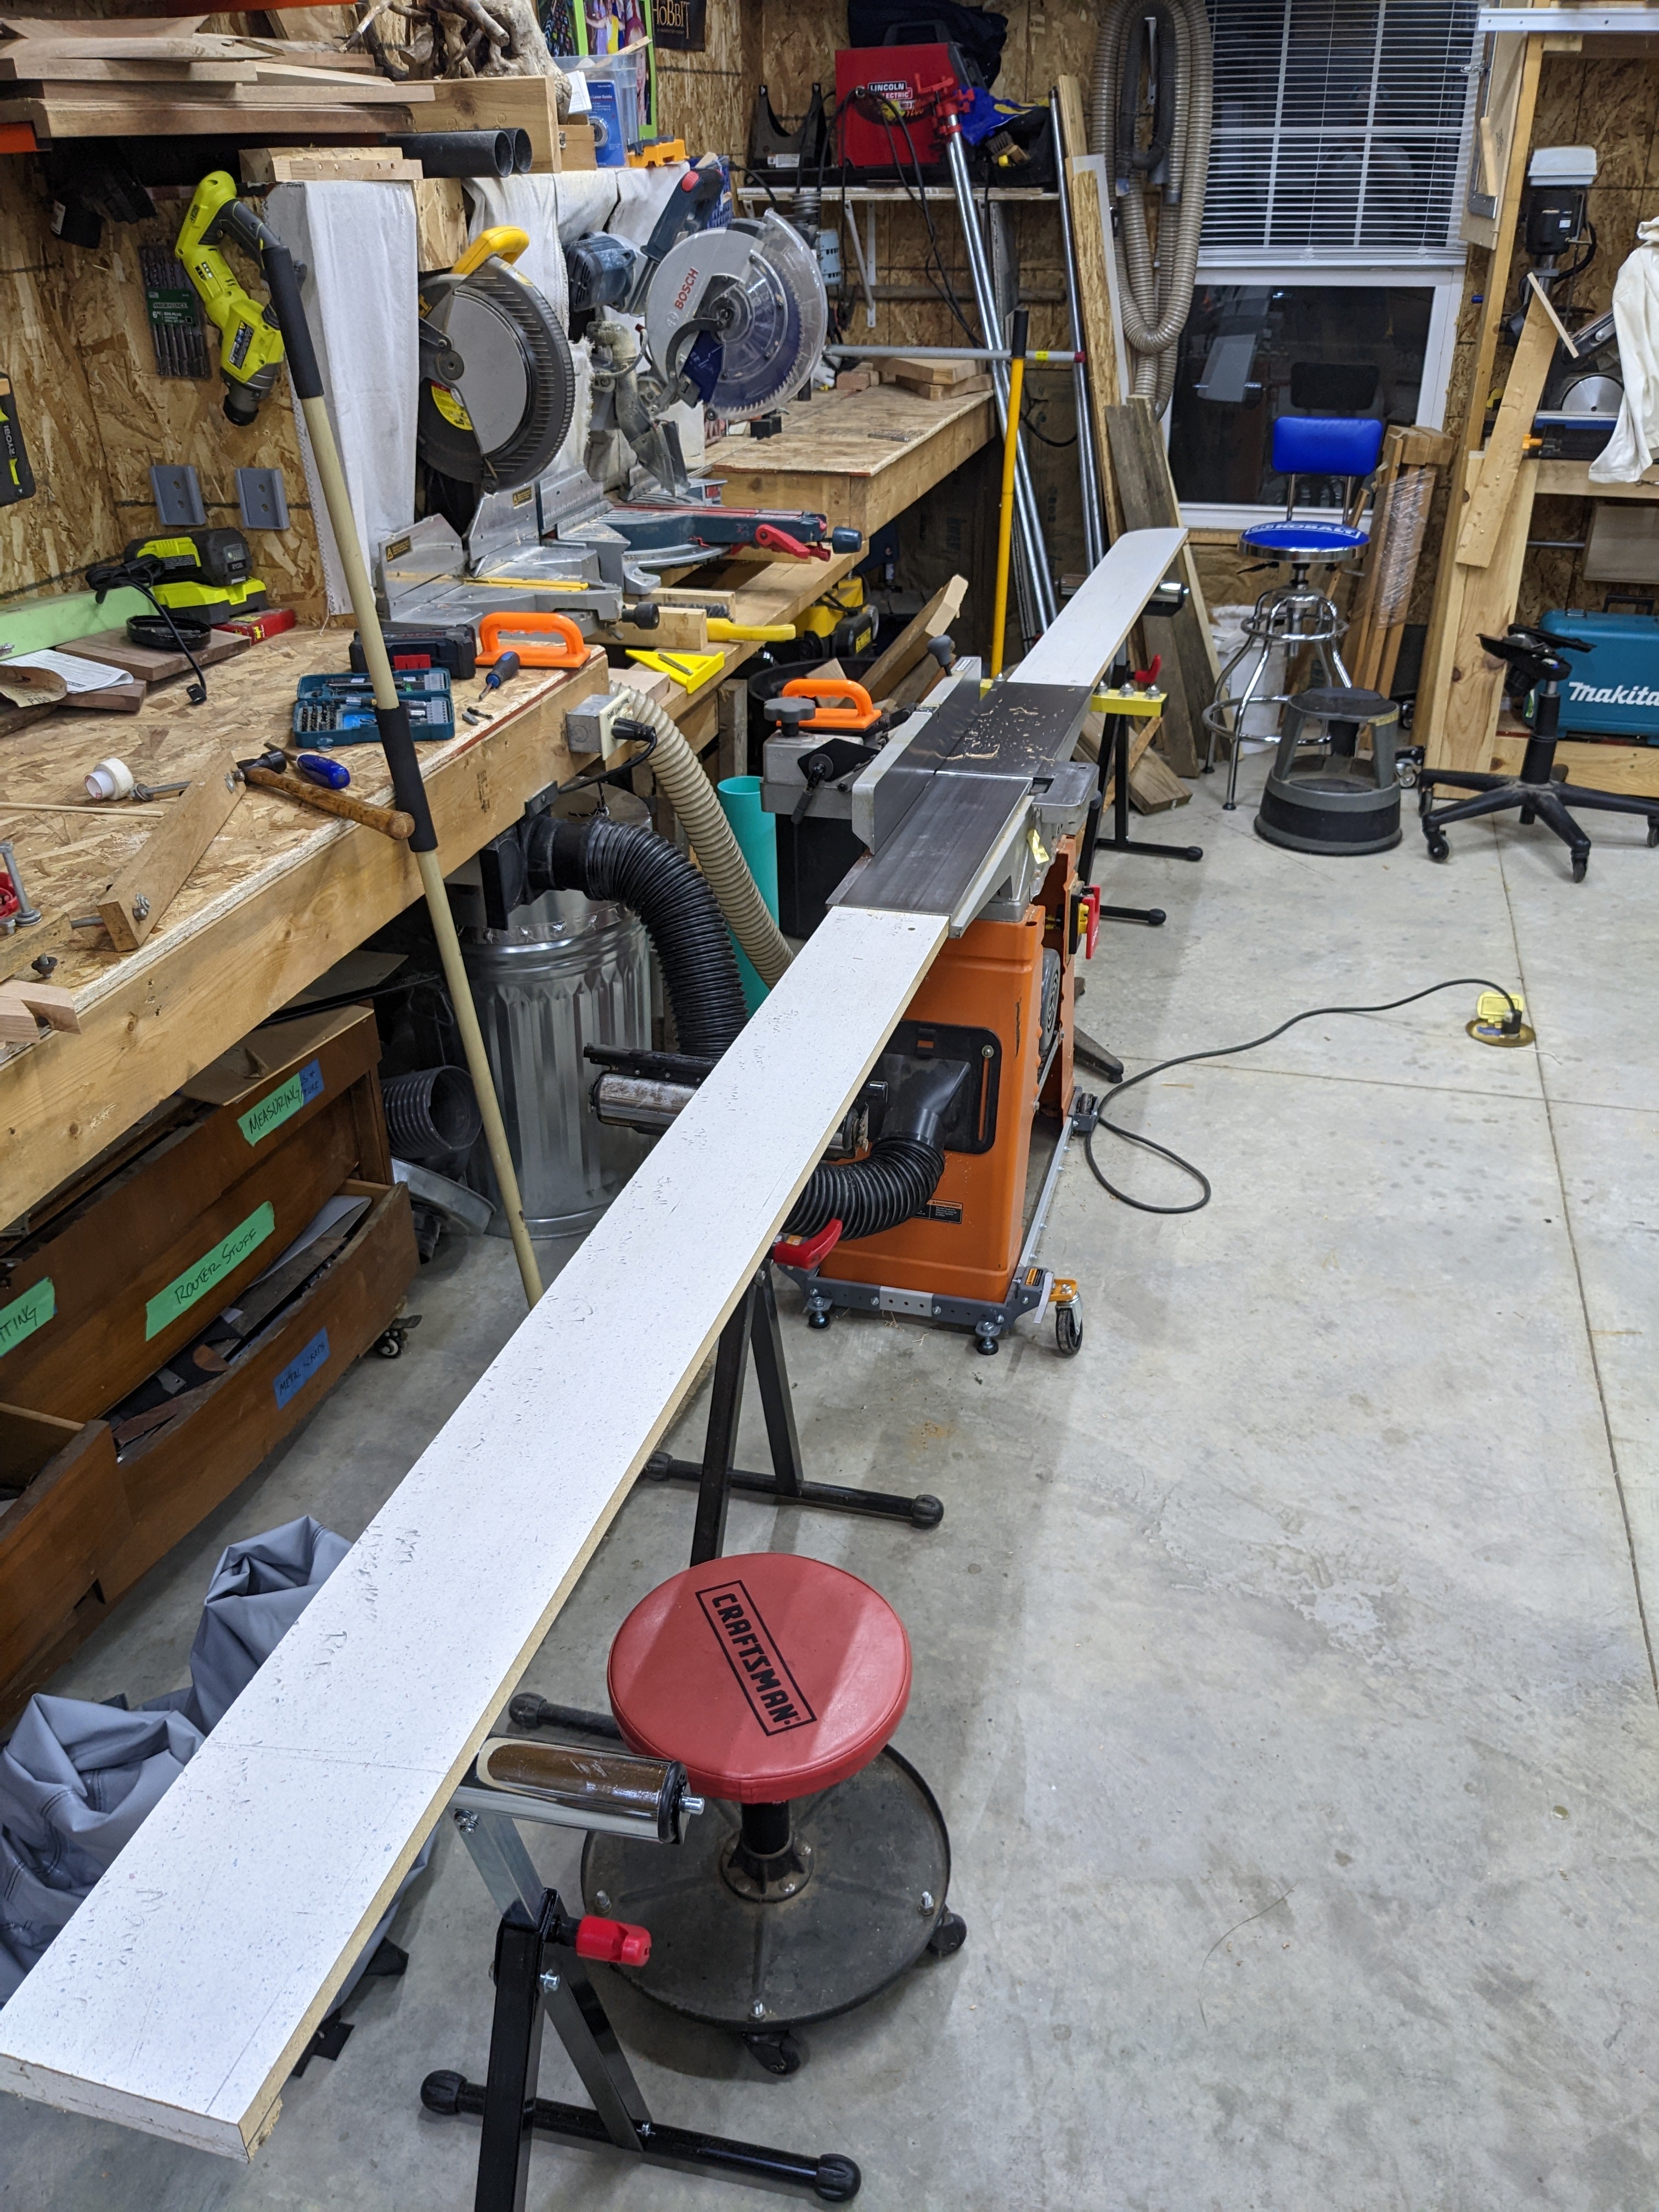
Milling the lumber
Turning rough-sawn lumber into square and dimensioned boards takes a lot of work and a lot of space in the shop. I added these extensions to the jointer to help keep things level.
-
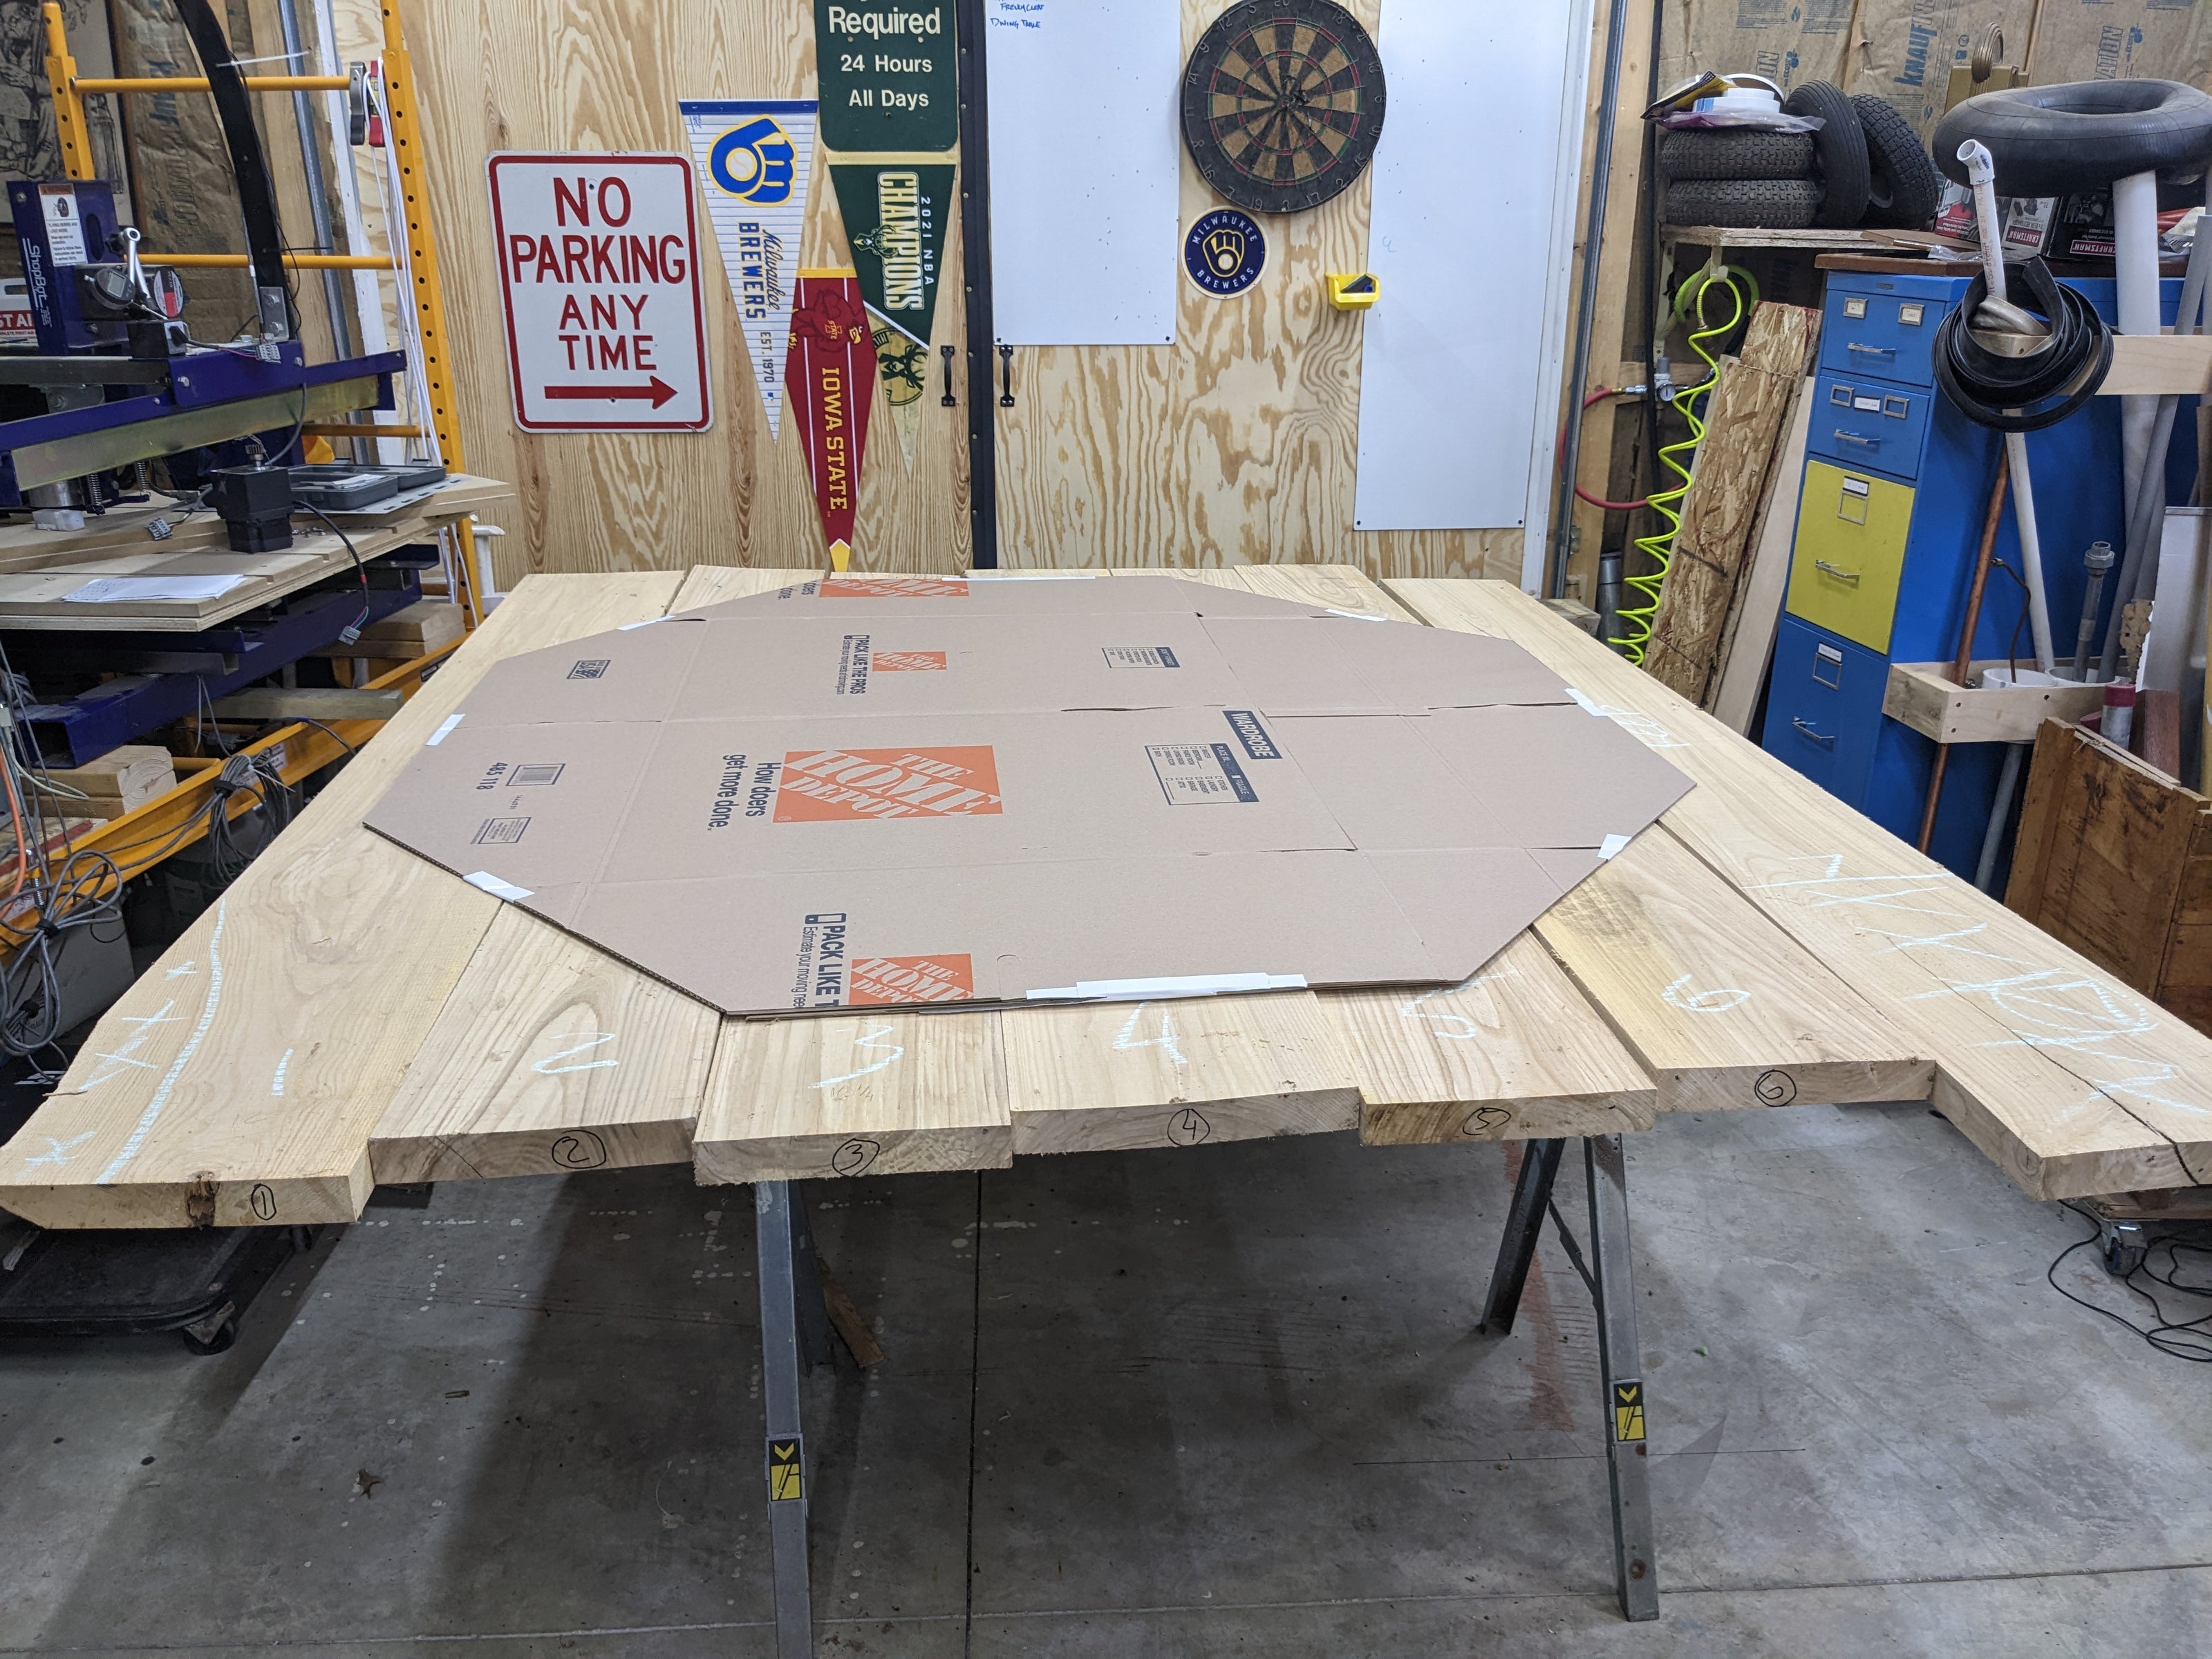
Cardboart template
This template served two purposes. It allowed me to take the CAD design and translate it to the actual wood, but also allowed me to take it inside and get a feel for how that size works in the actual room.
-
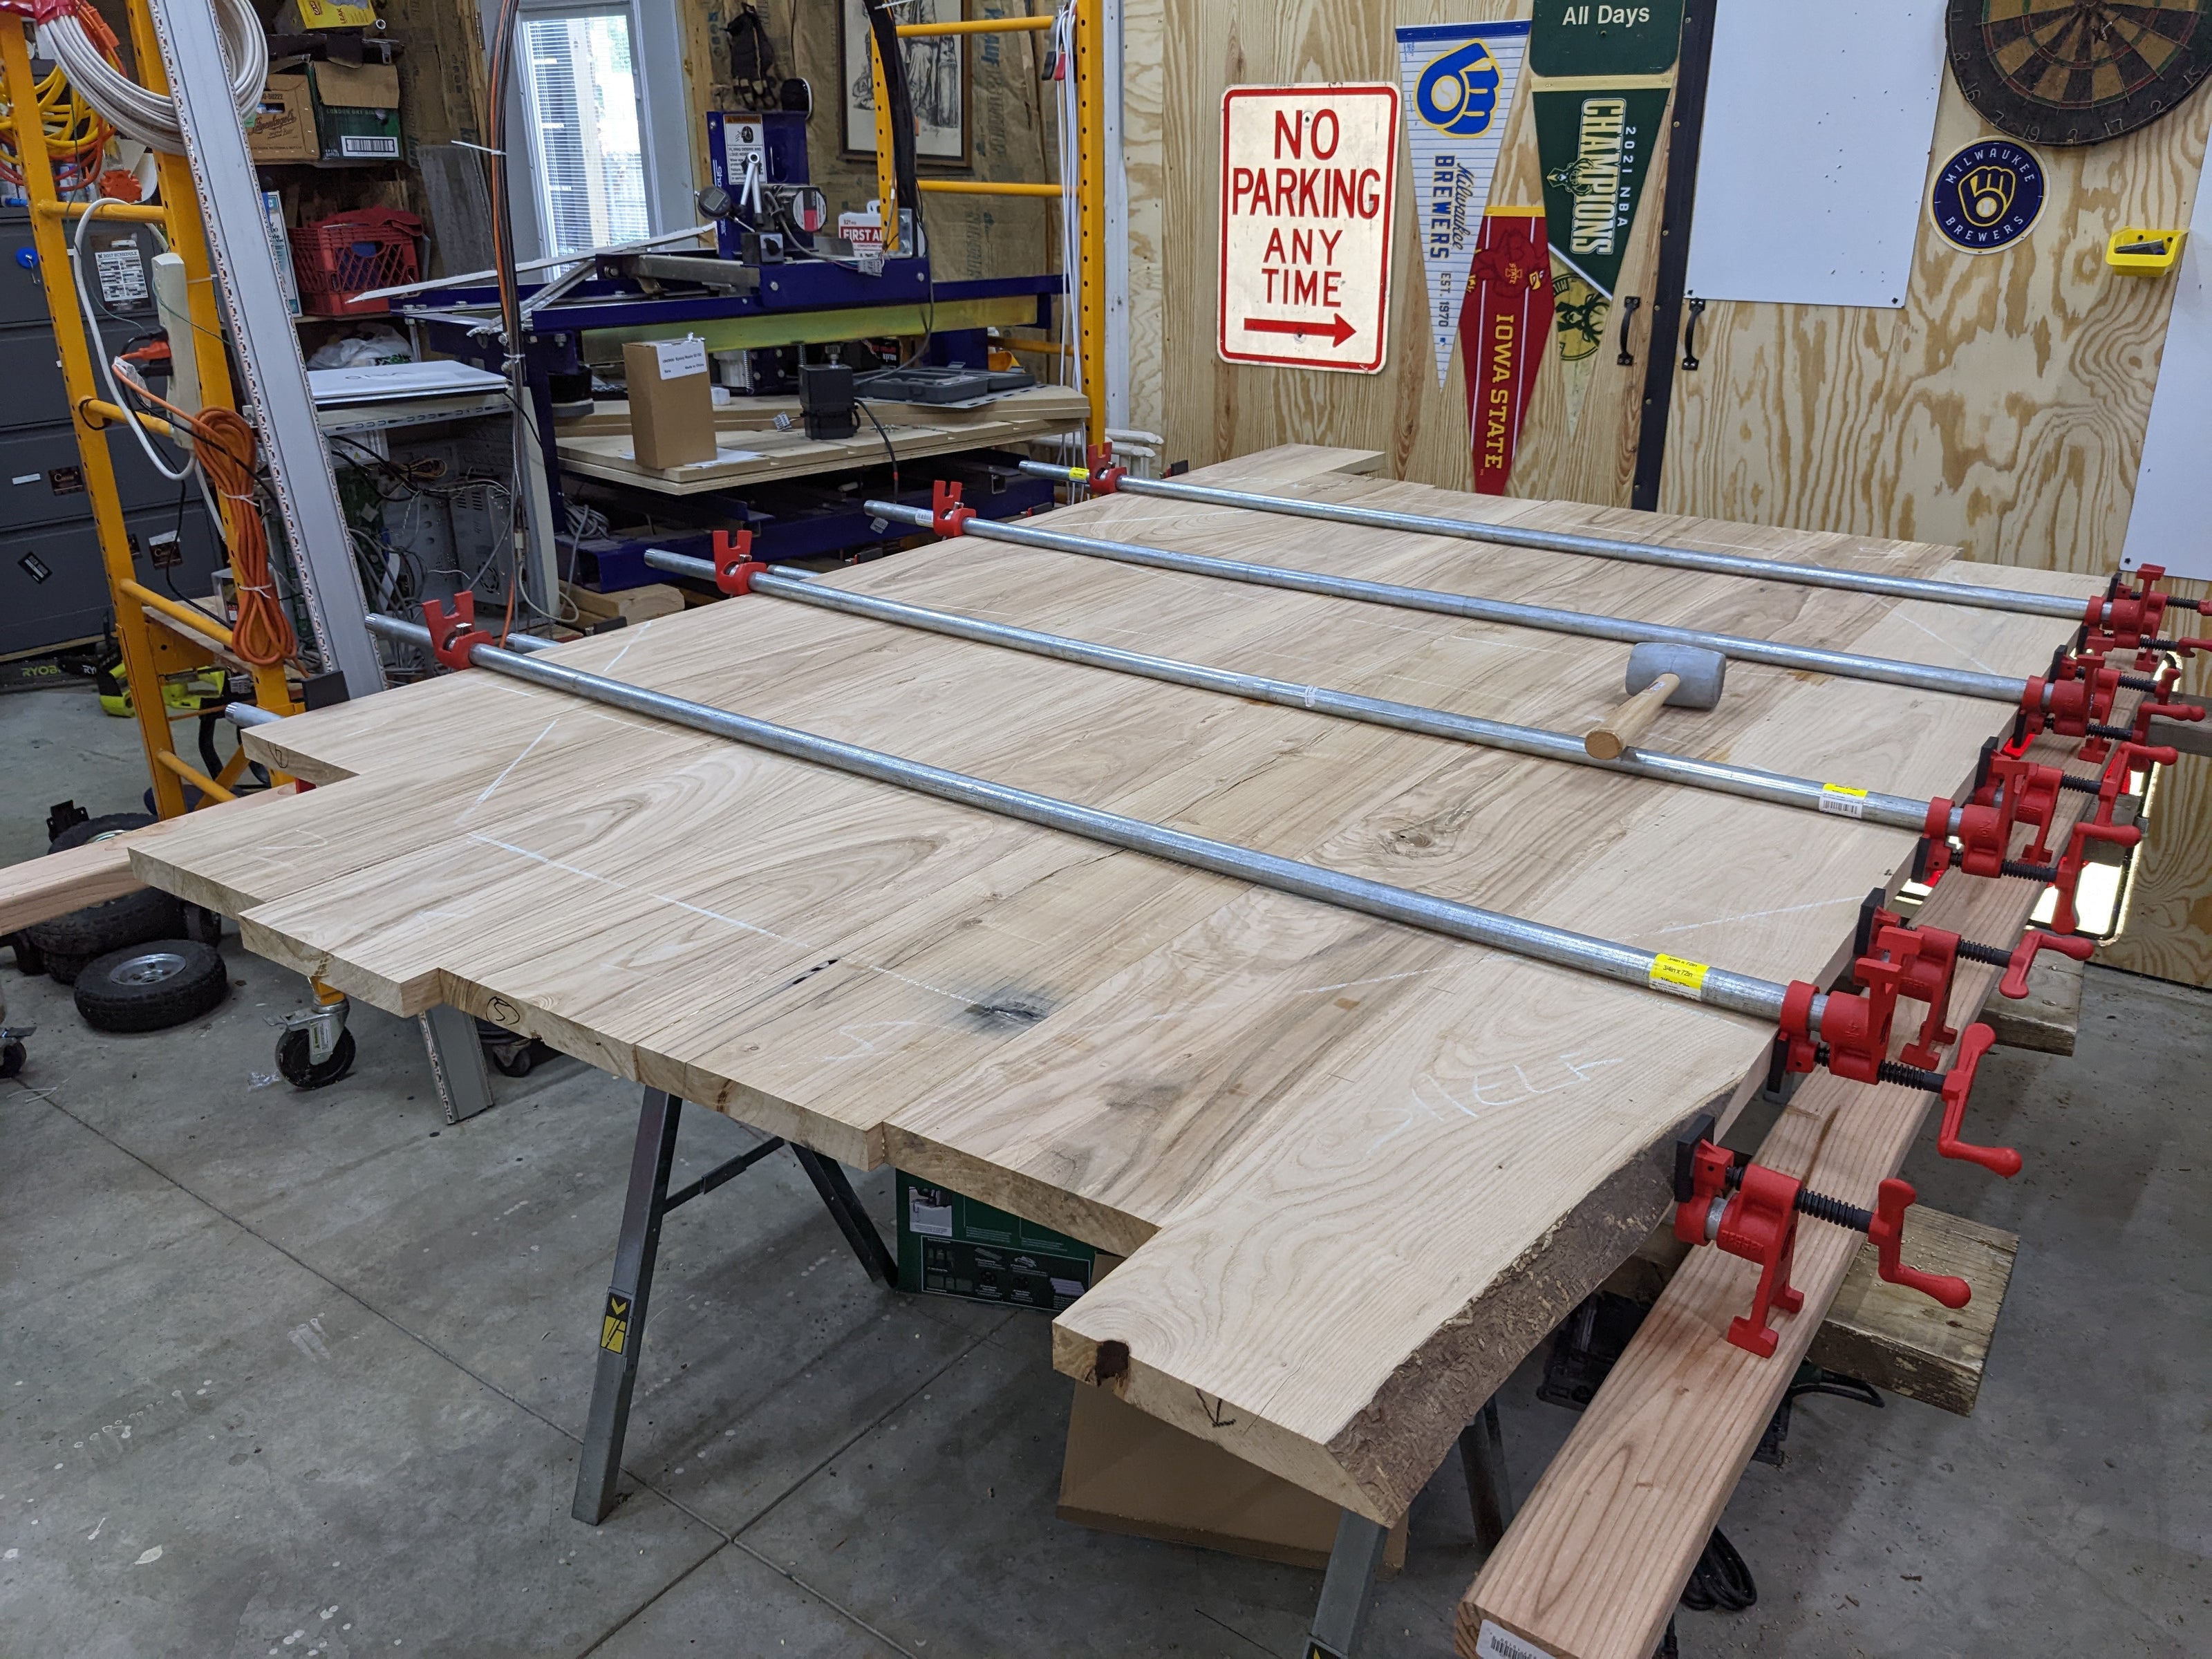
Glue-up
So many clamps.
-
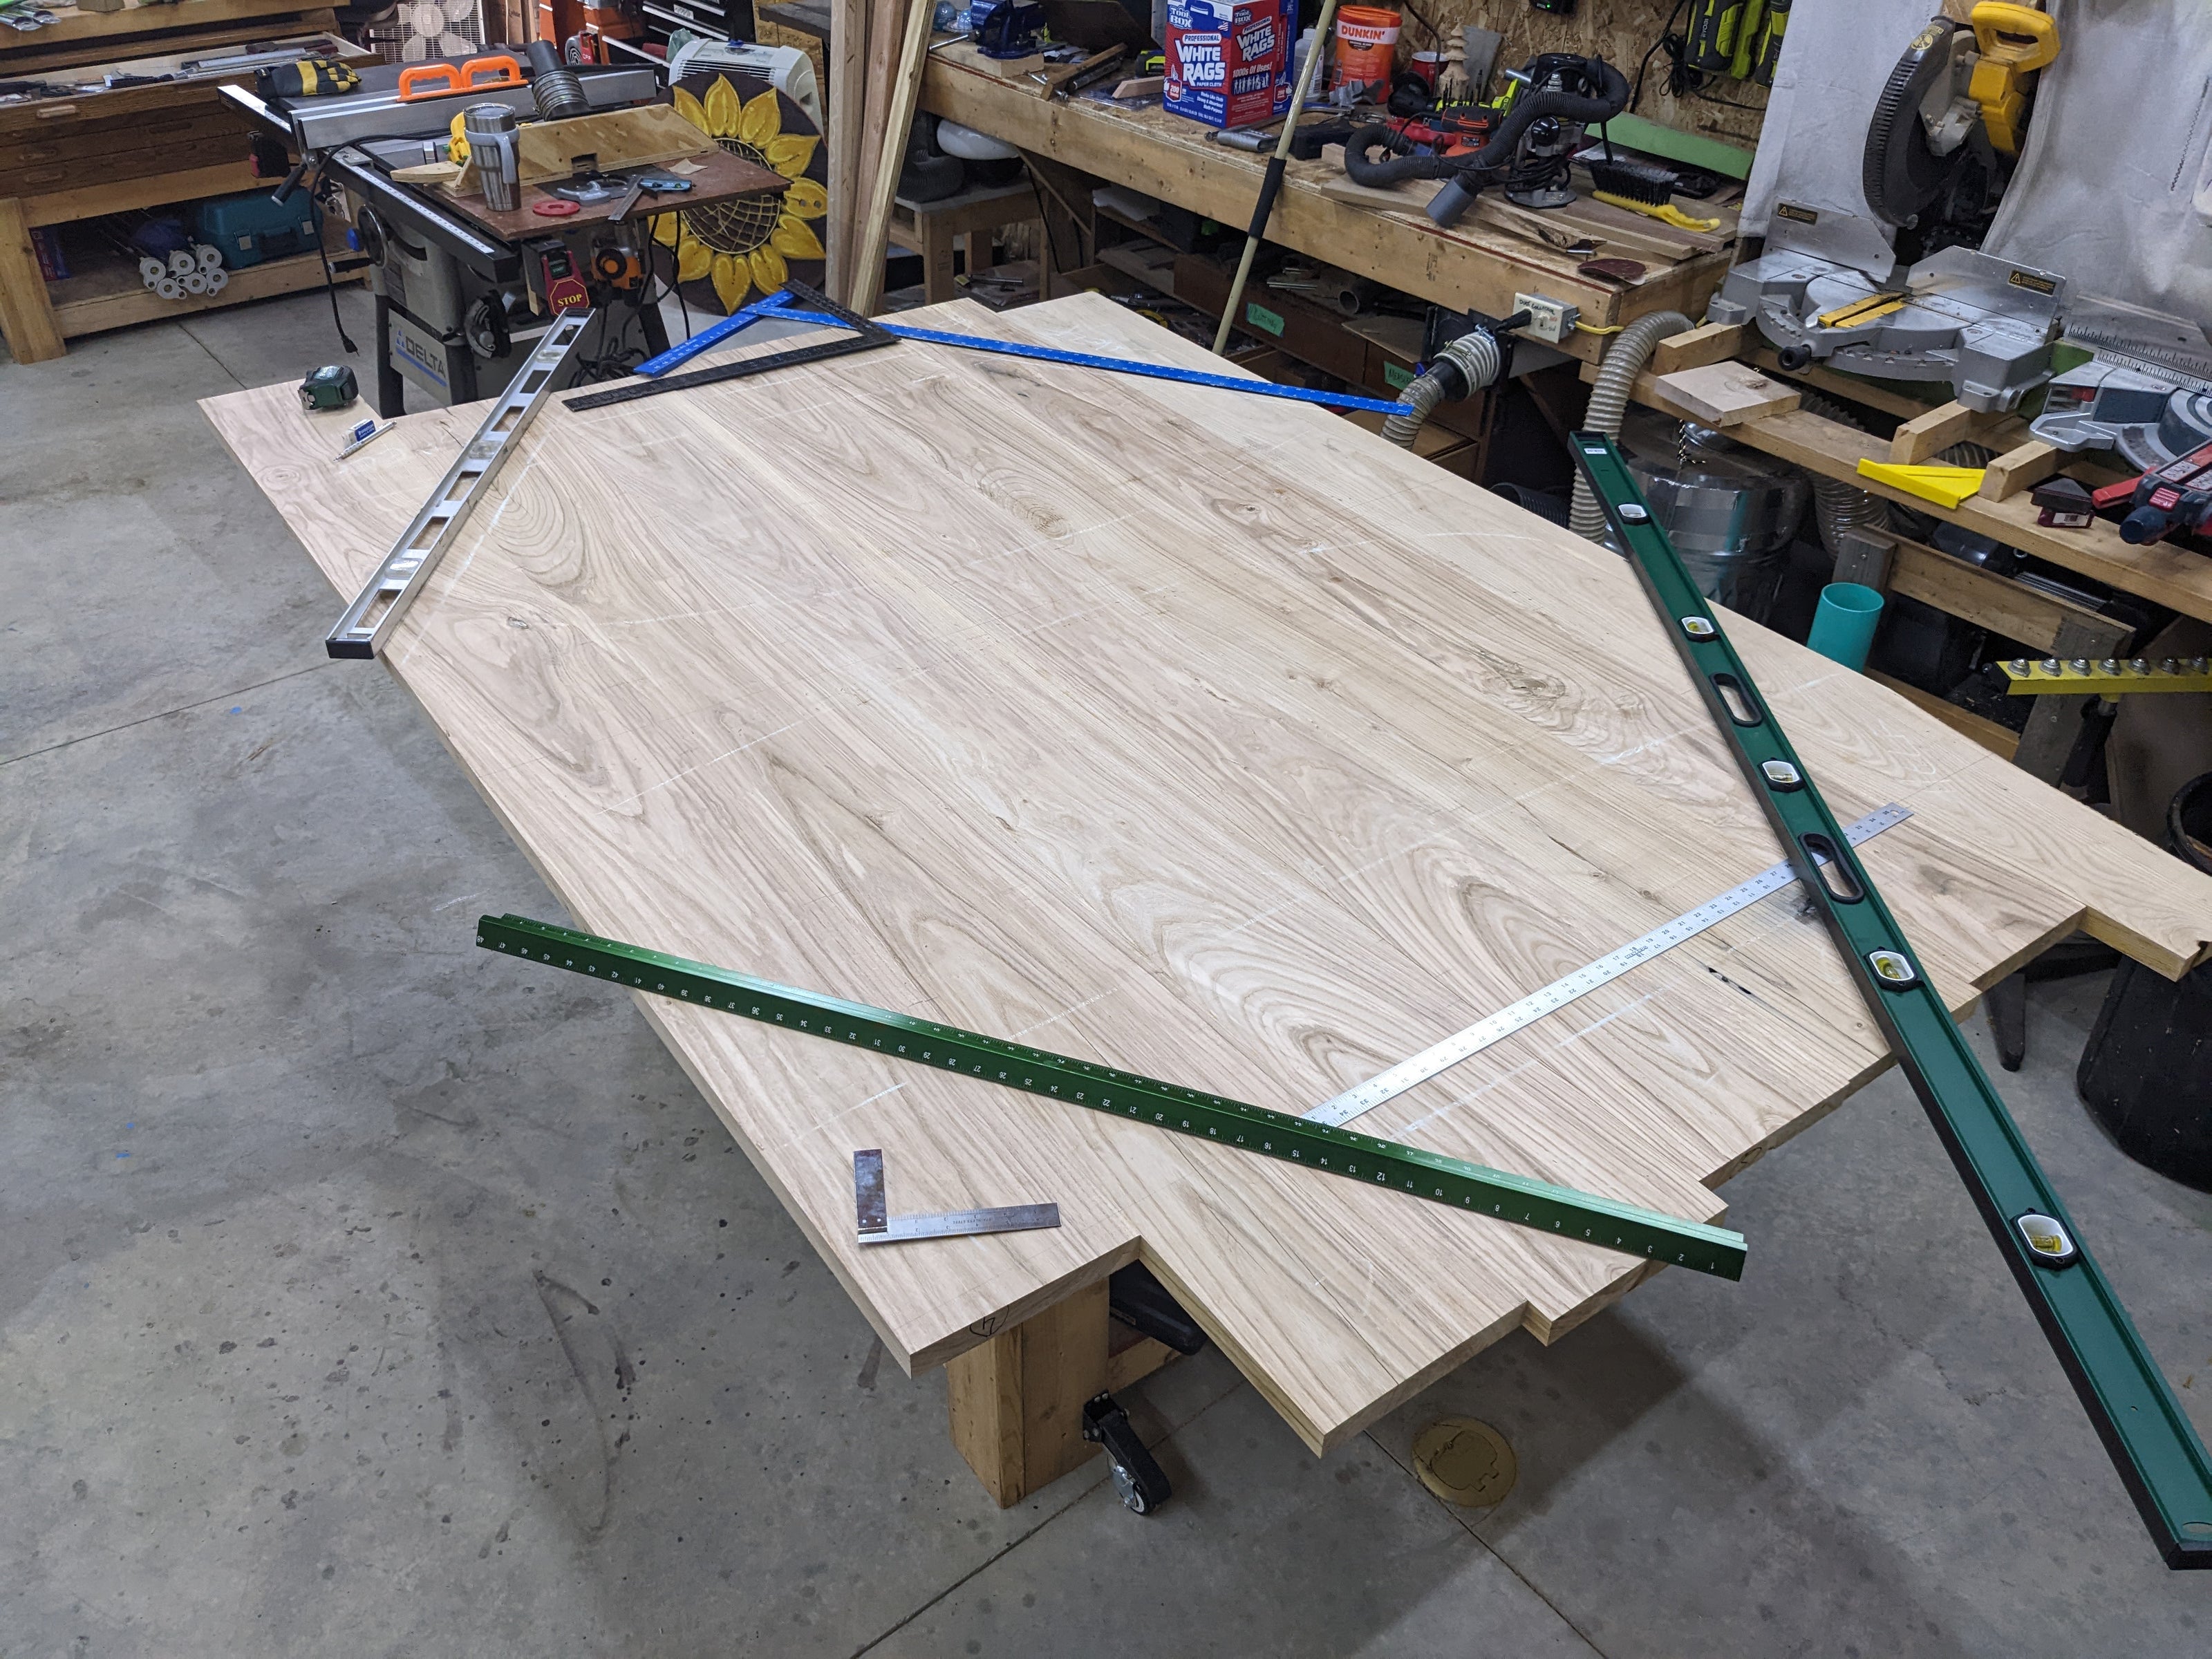
Tweaking the layout
Modeling in CAD is one thing. Getting a feel for the layout when you're standing next to it is entirely different.
-
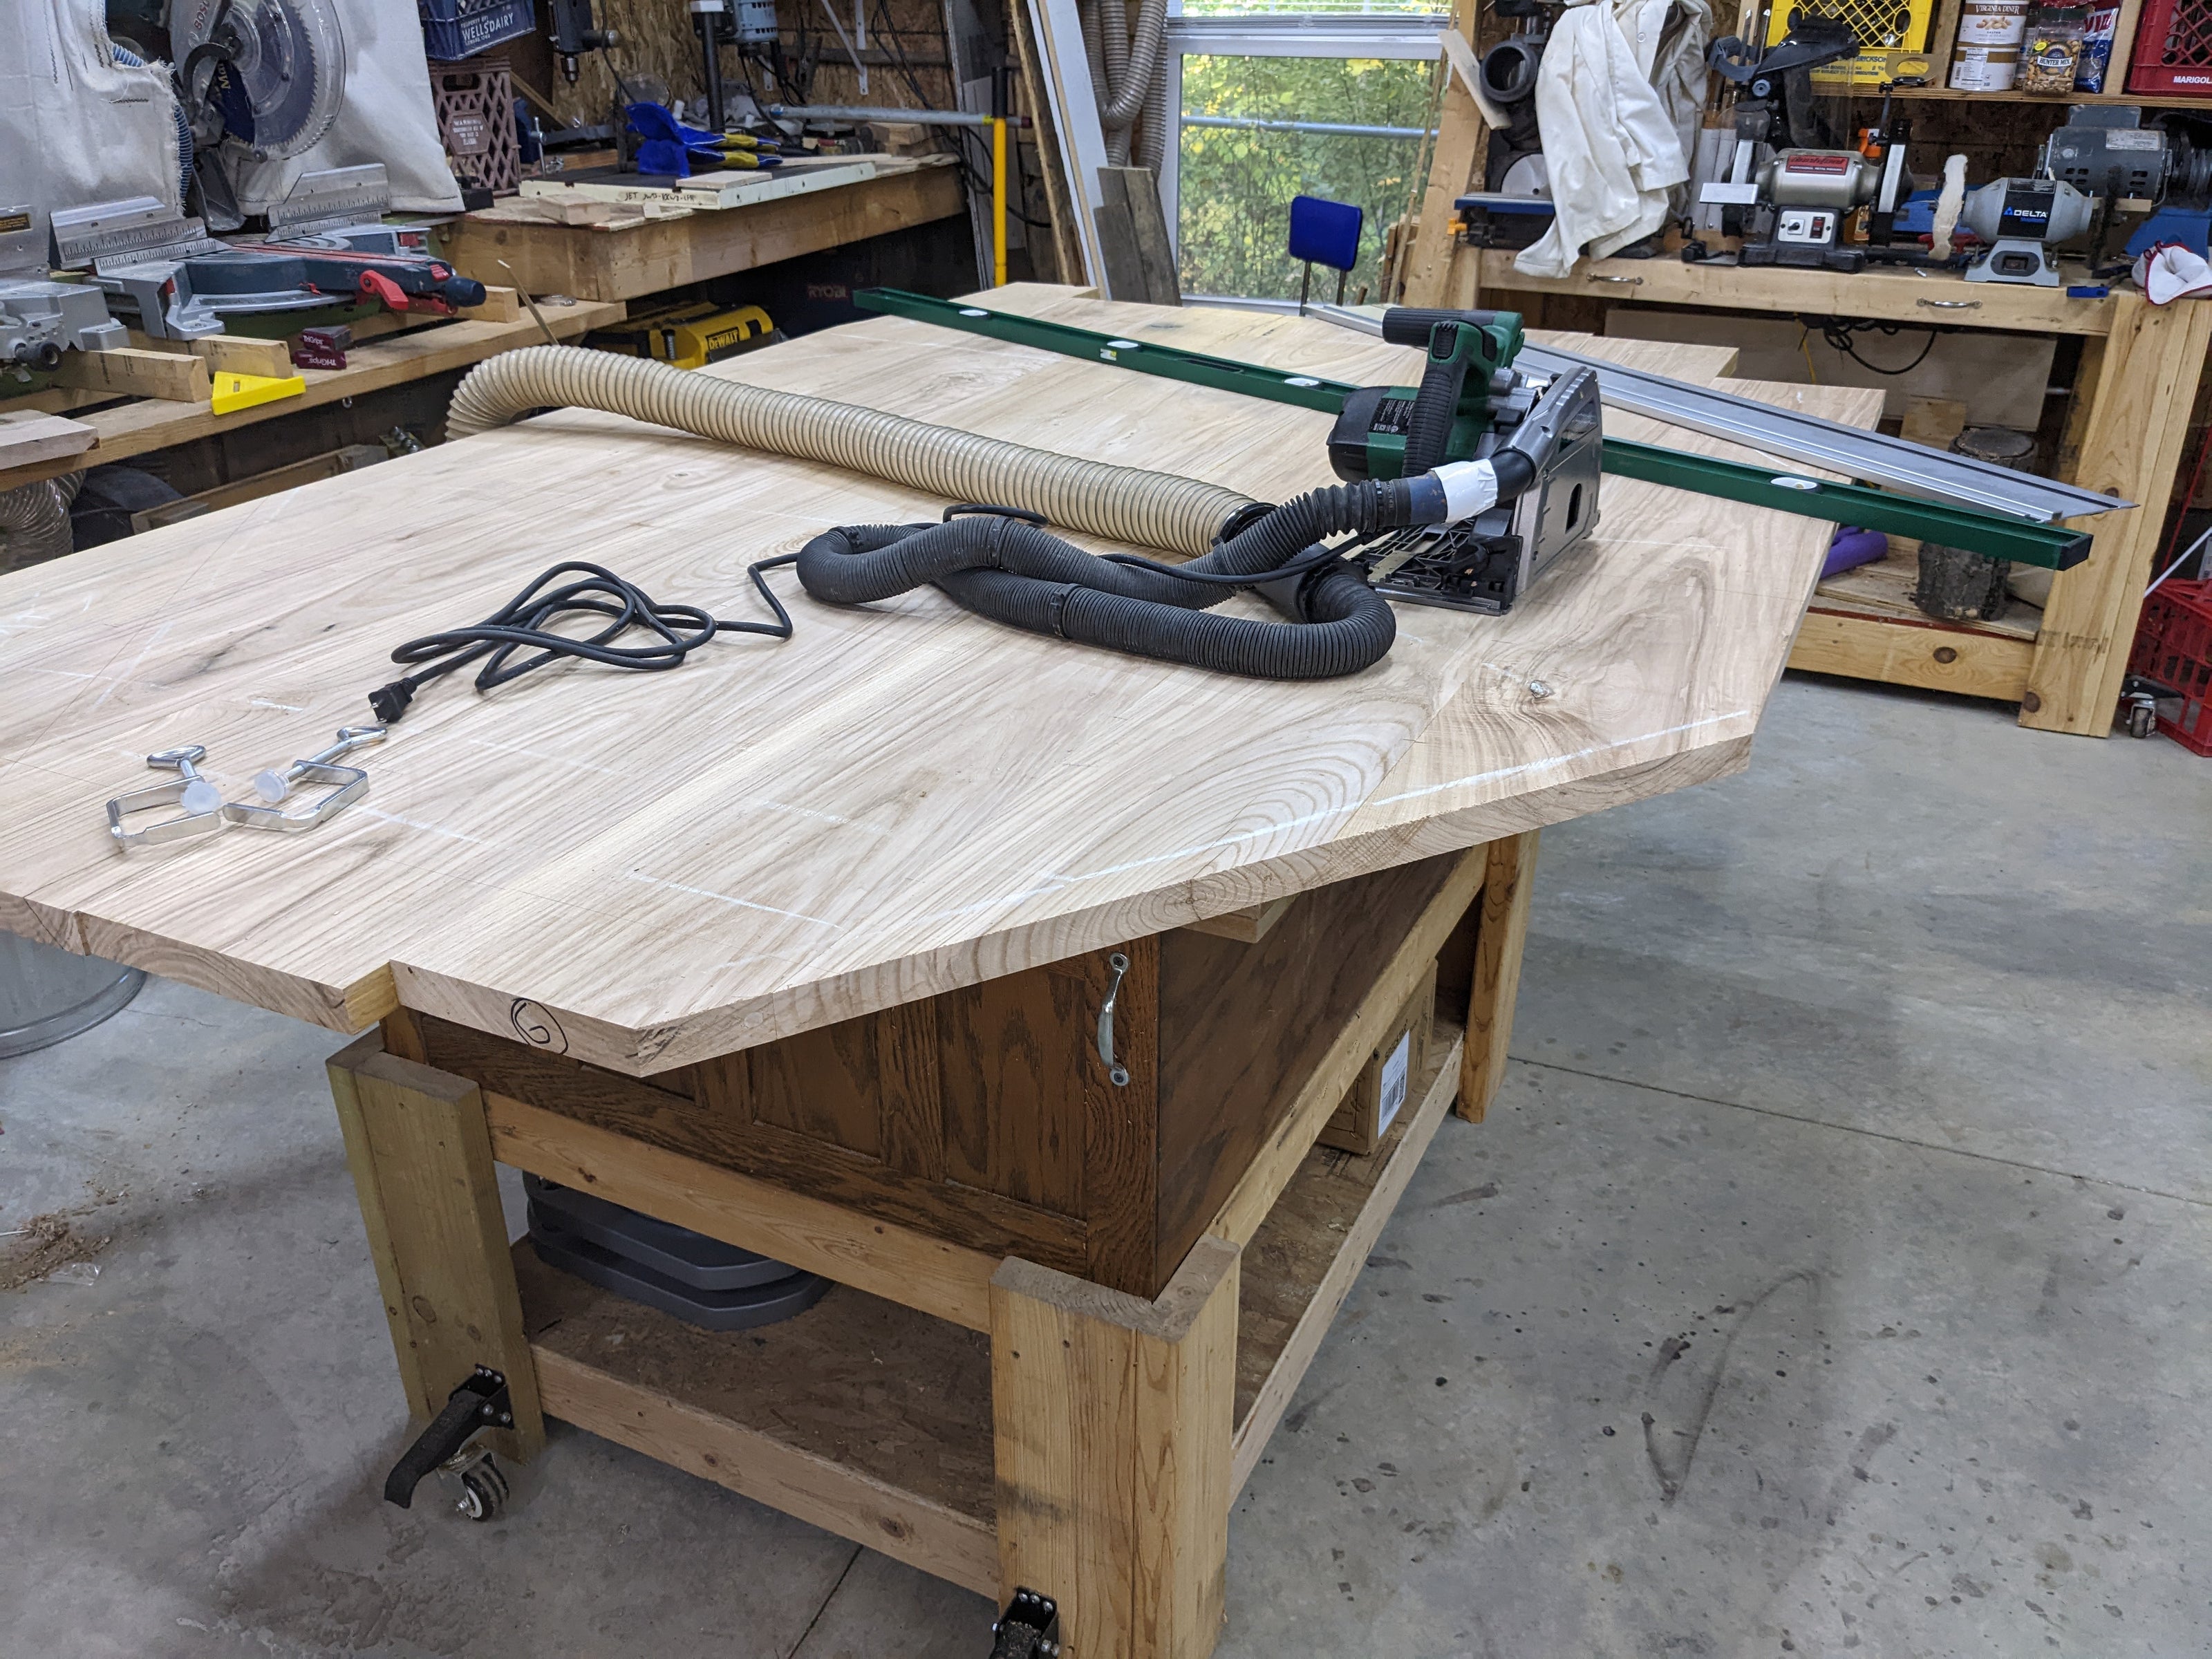
Track saw
I acutally used these cutoffs for bourbon shelves in the dining room.
-
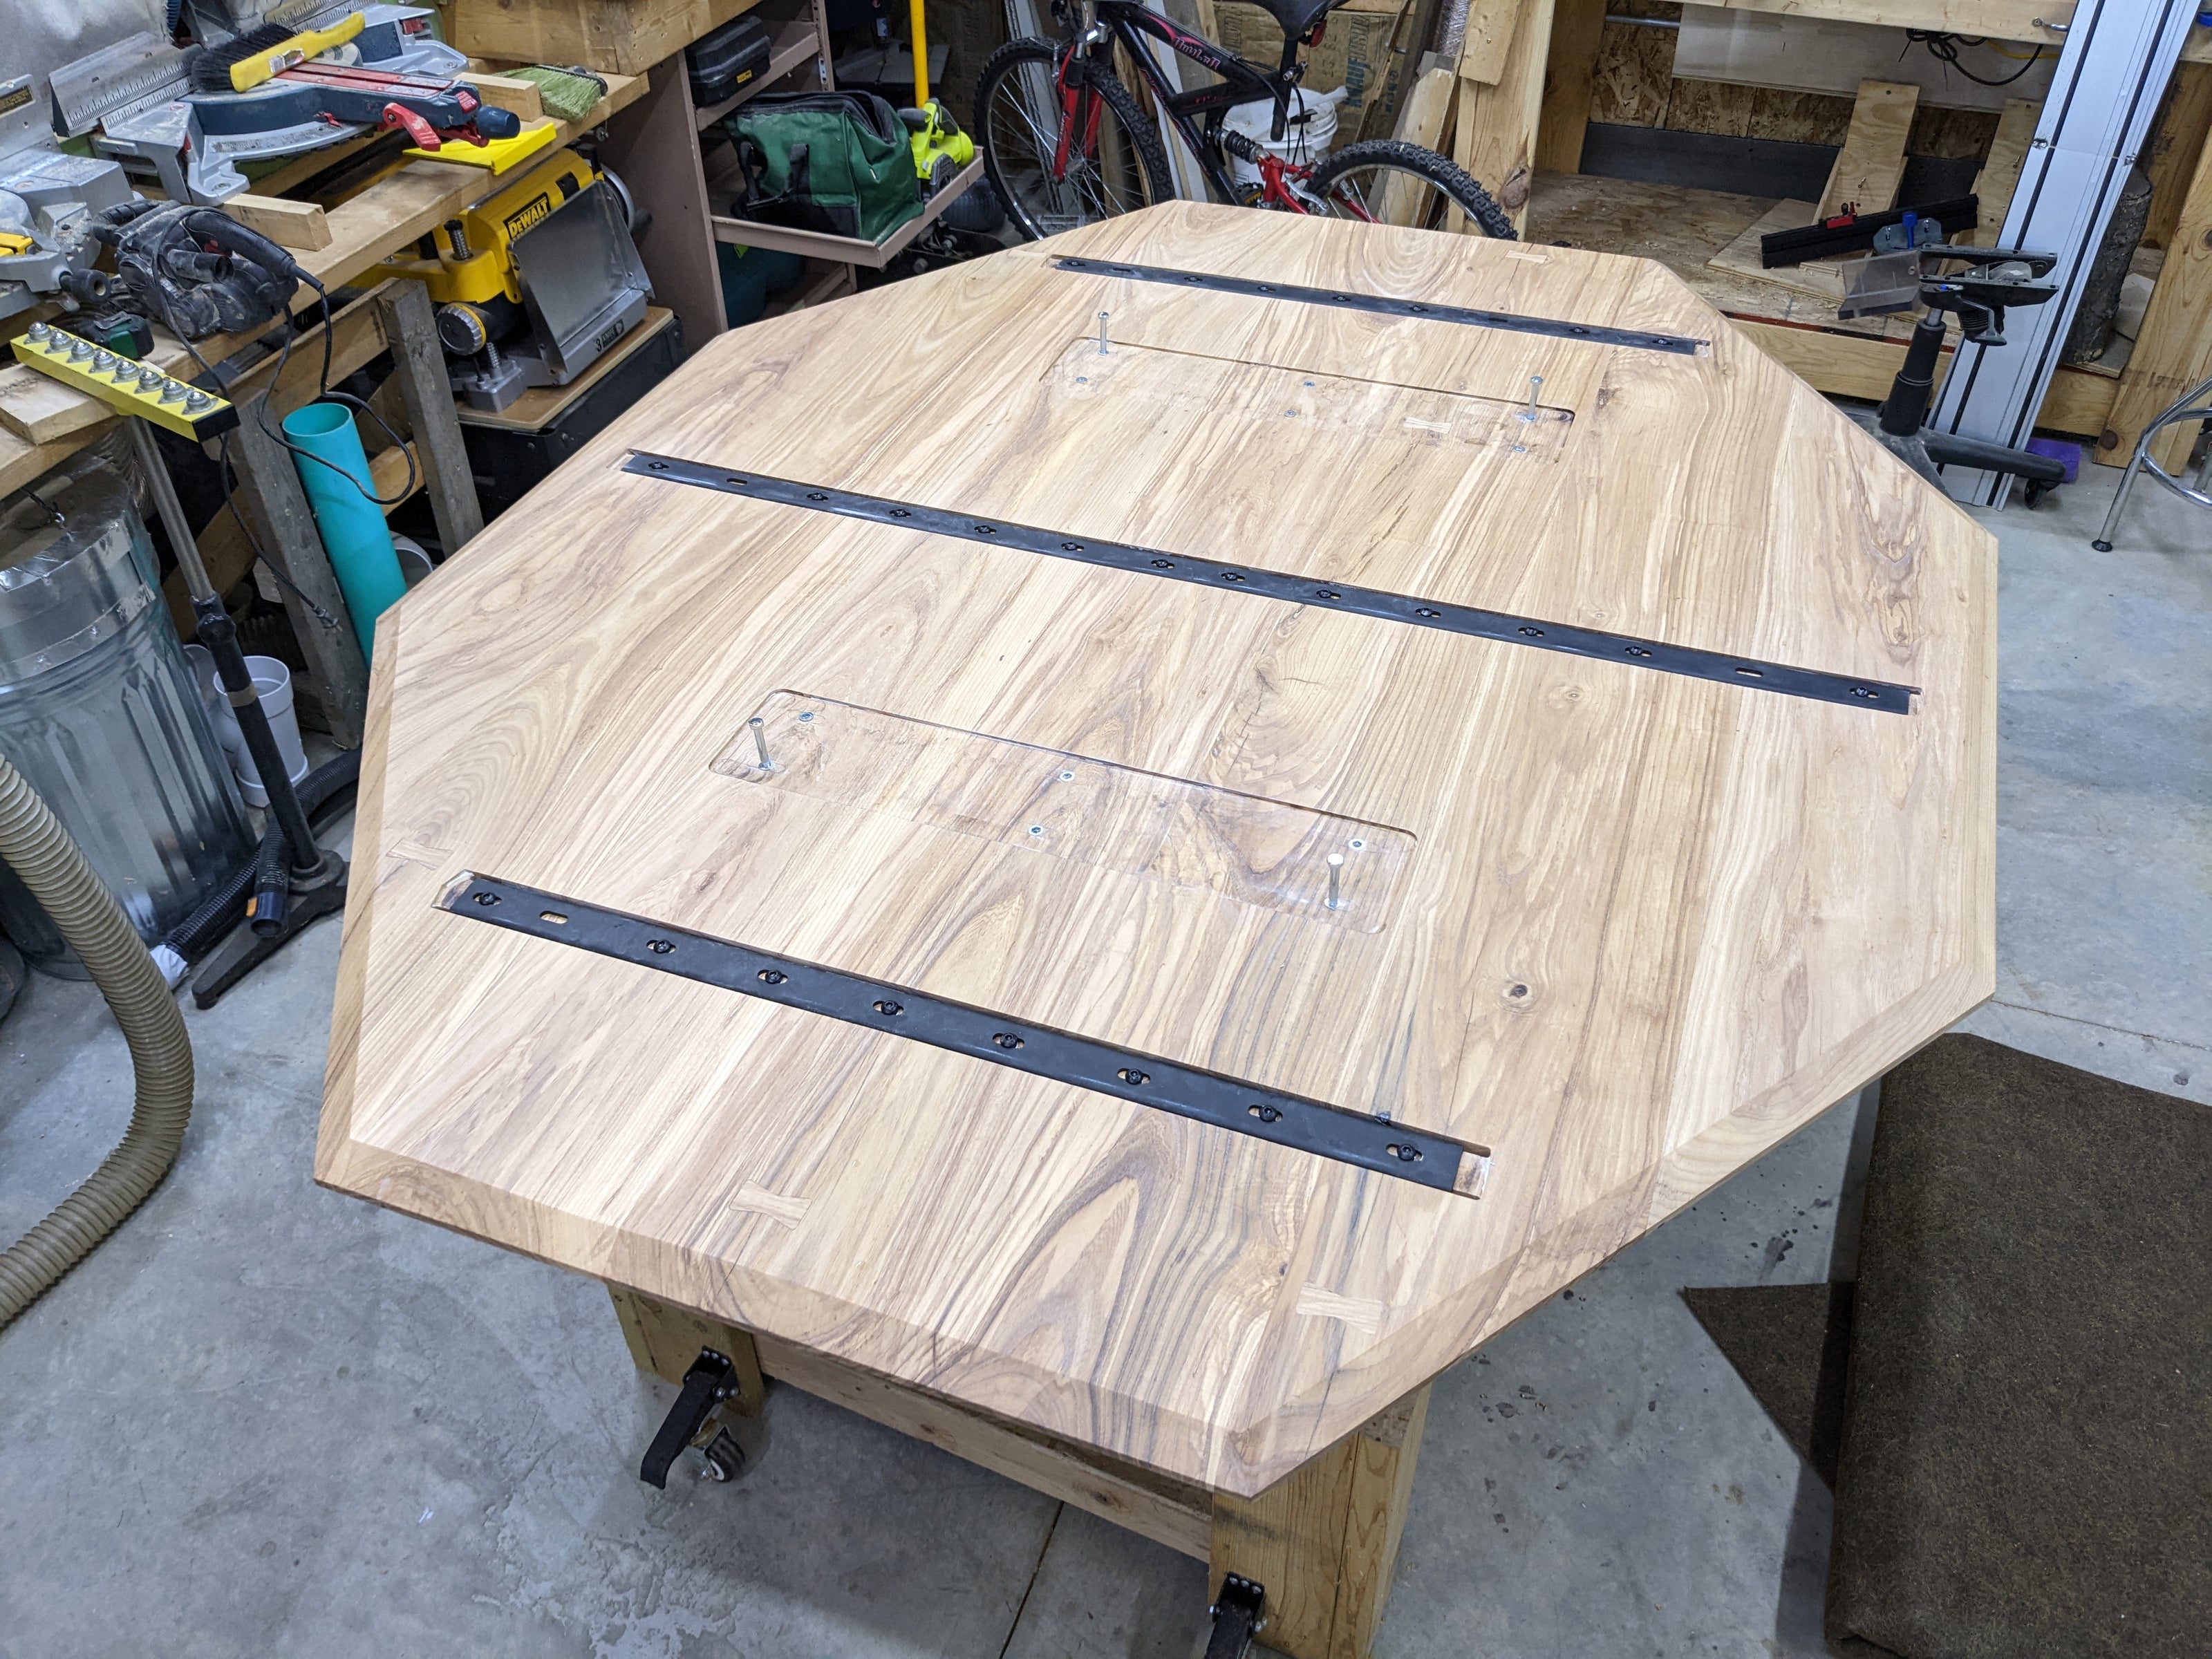 These 3 rails add a mountain of strength across the width of the table.
Bottom stiffening rails installe
-

Final sanding & finish complete
Sooooo much sanding, plus a couple coats of Rubio.
-
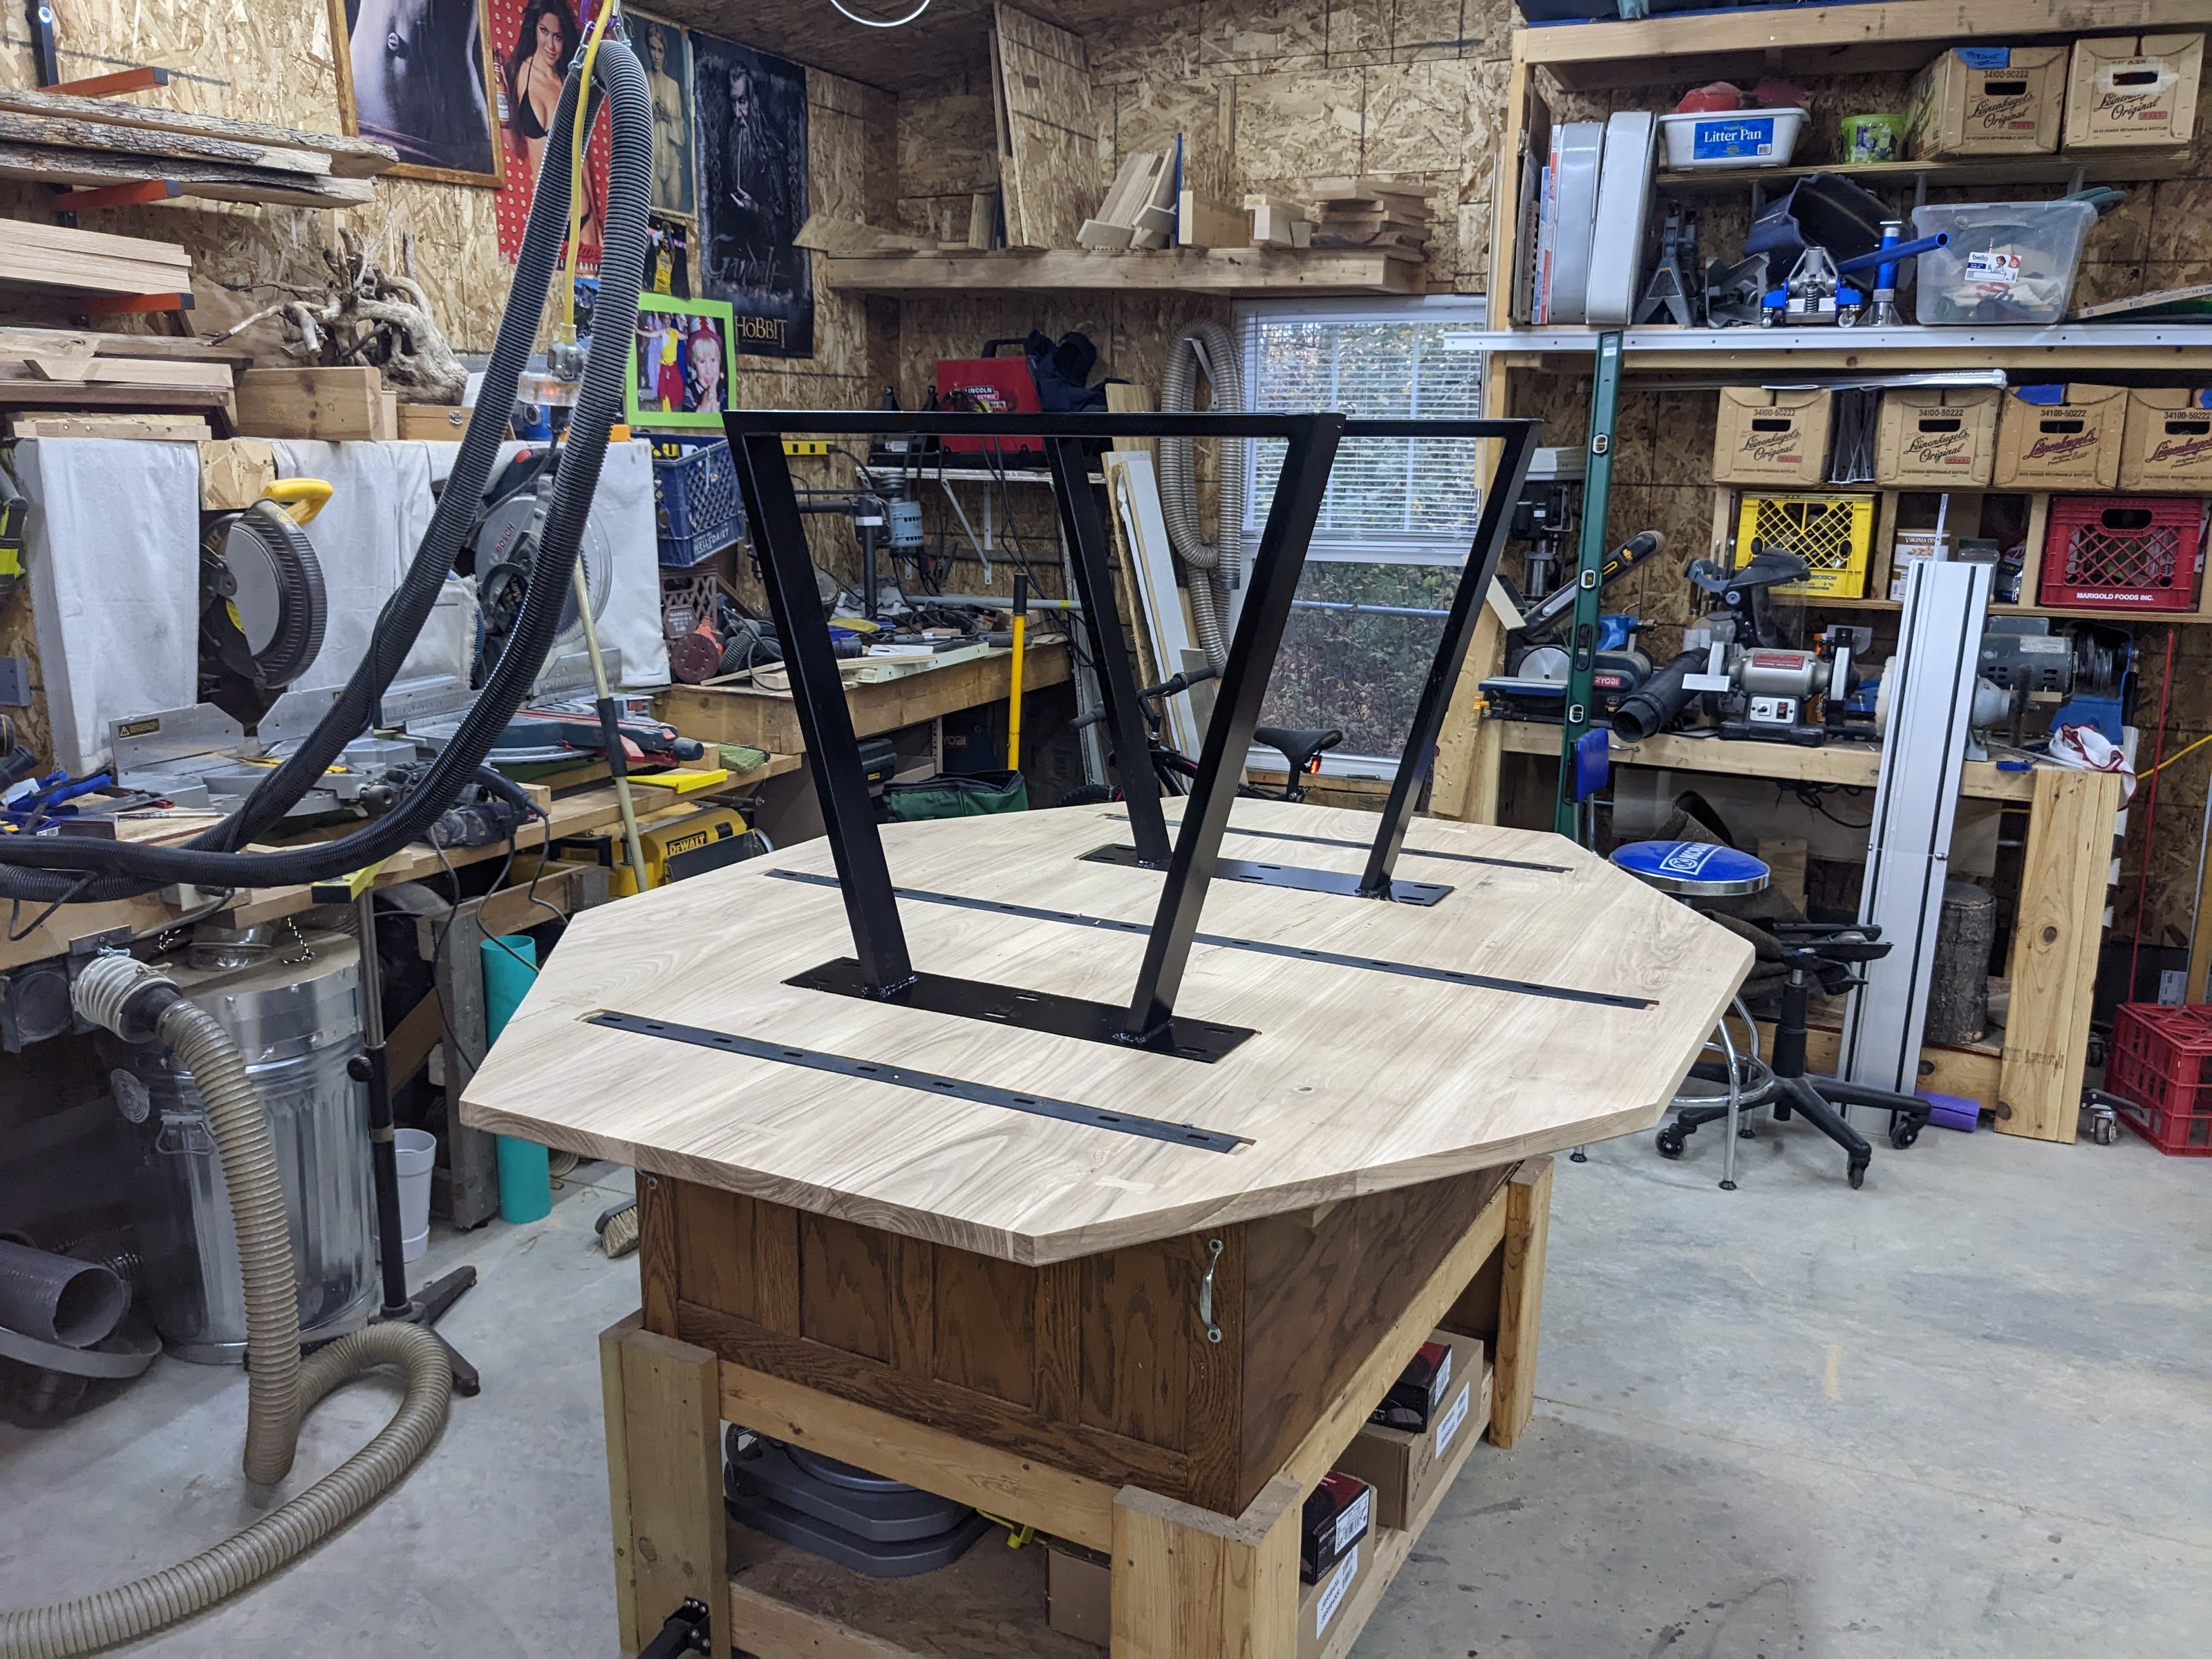
Legs
I designed these table legs, too. Had a local welder fabricate and paint them.
-
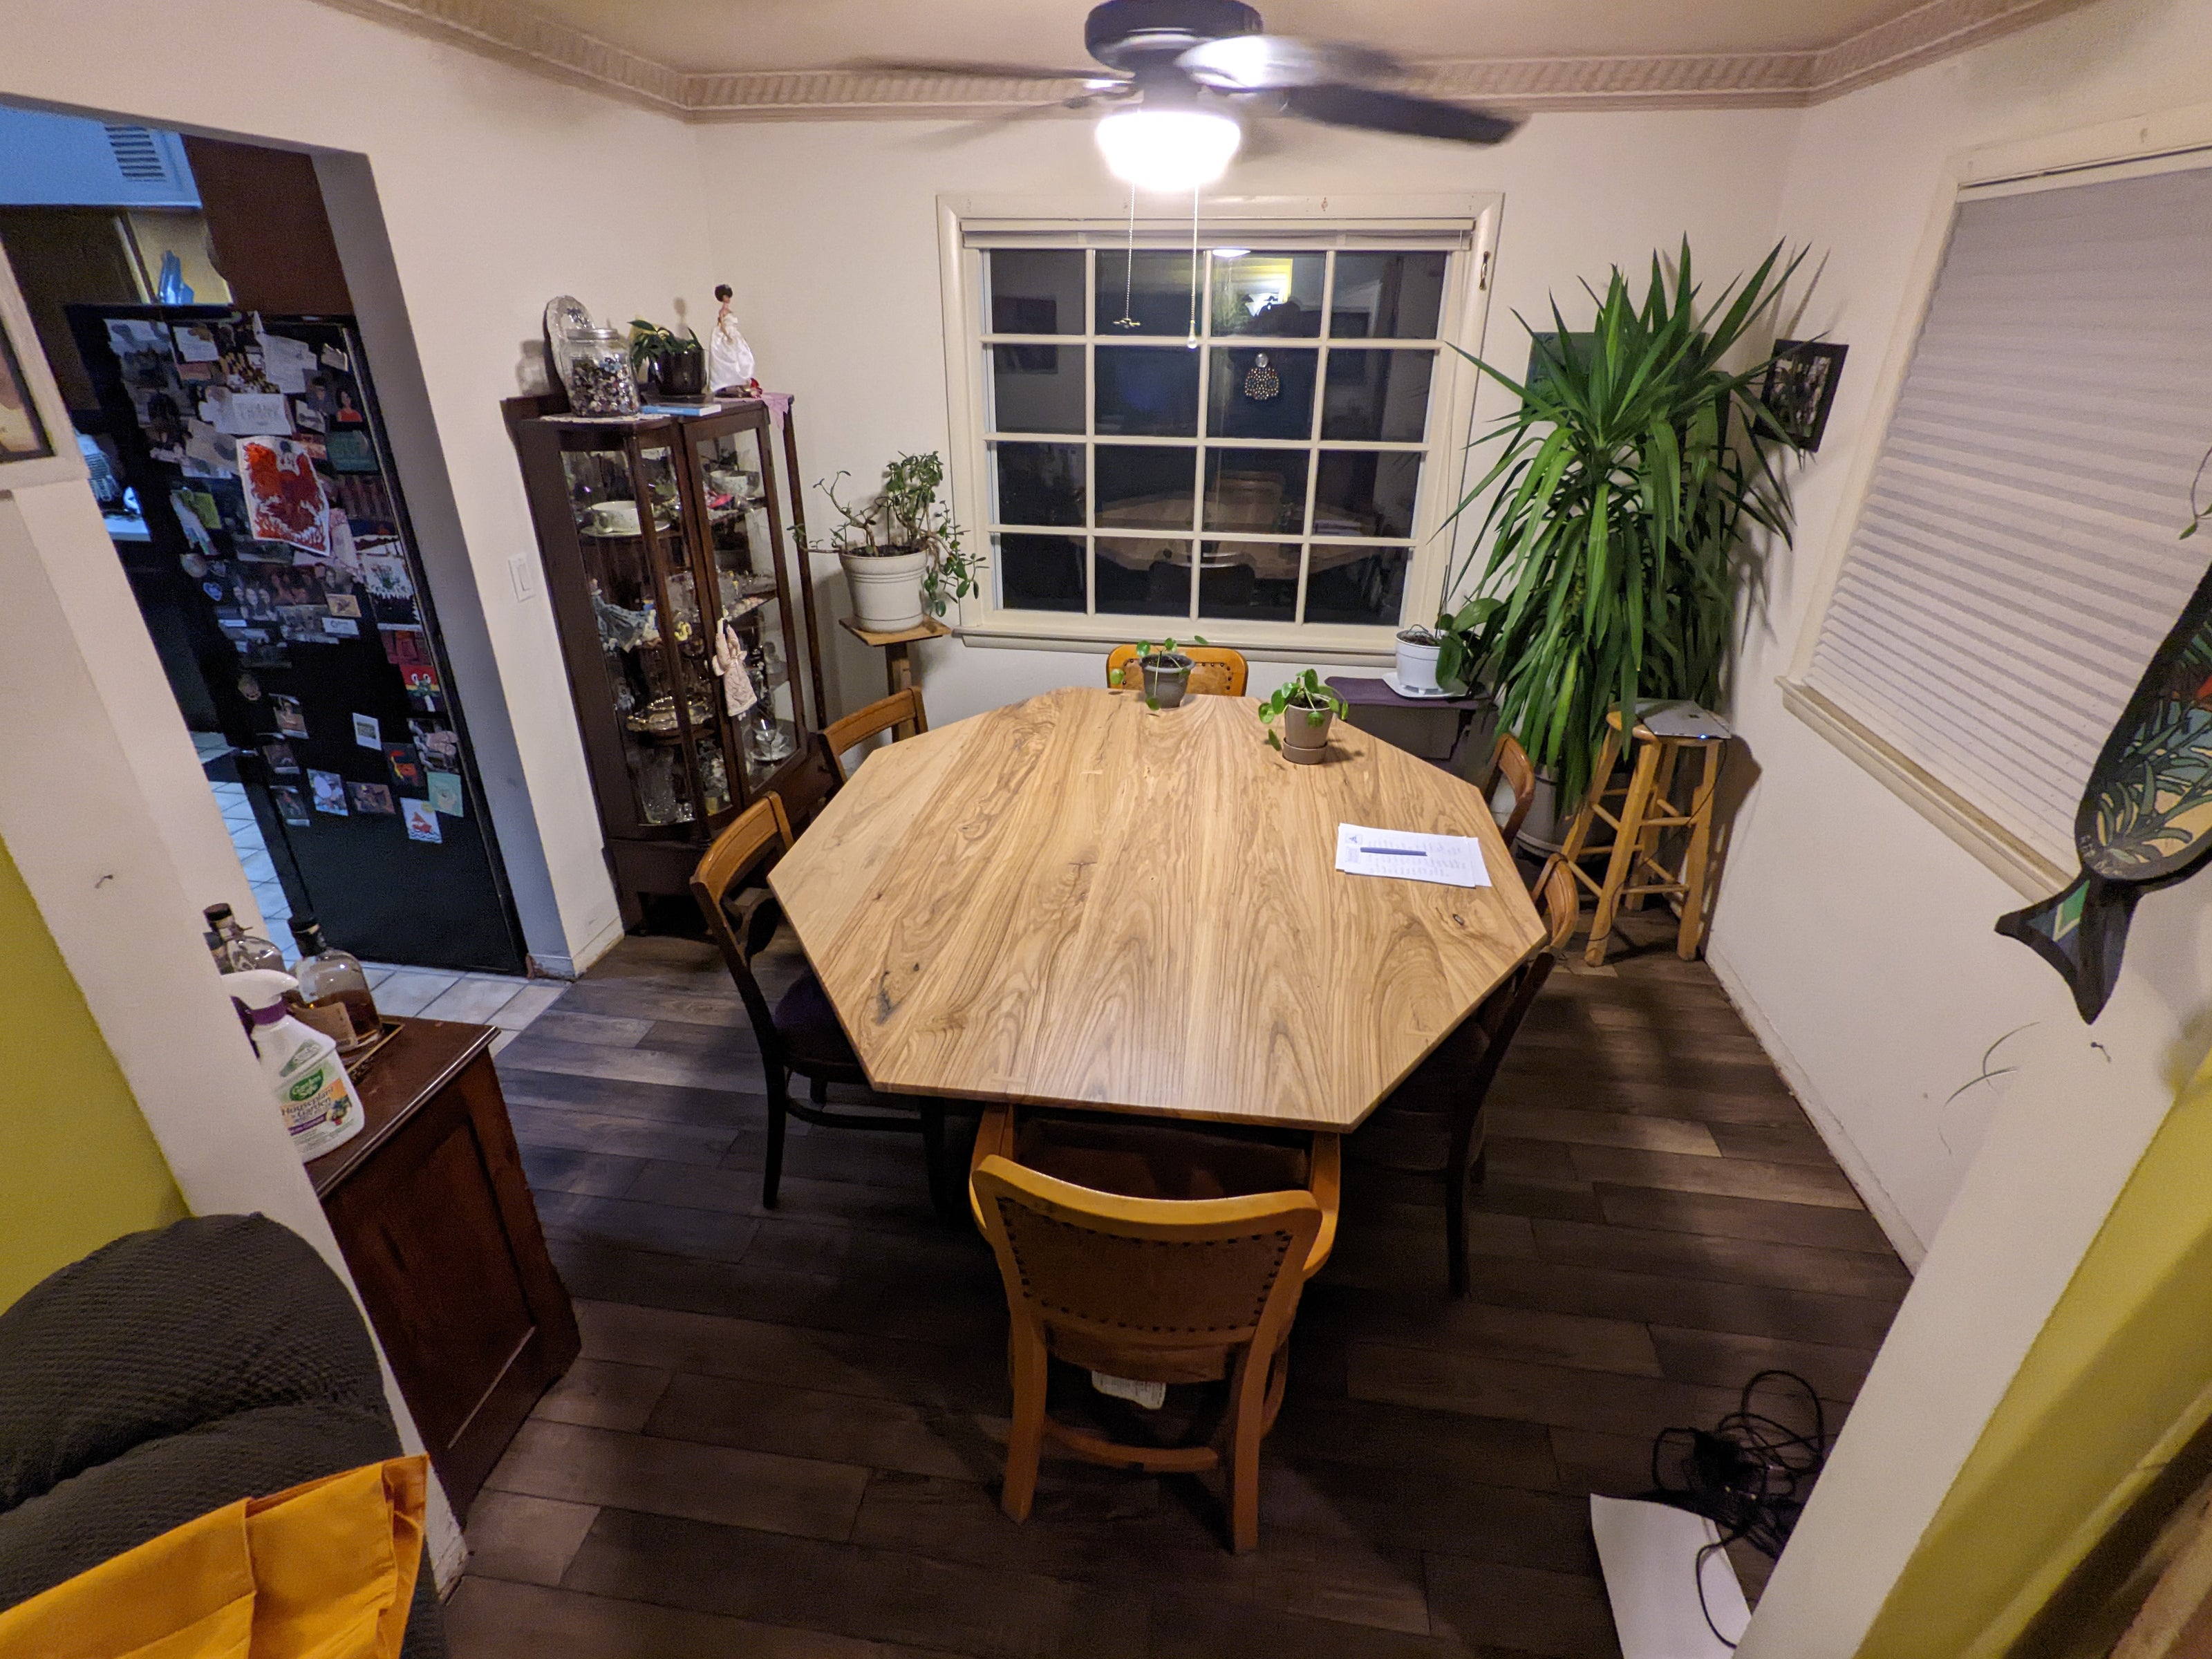
Final product
I finished the table about 2 weeks before we were to host Thanksgiving dinner.


